Memory problems might cause your computer to slow down and display unexpected blue screen errors or freeze/crash often. To avoid such issues, I recommend that you check your computer’s RAM for flaws or corruption every few months.
The built-in Memory Diagnostic tool in Windows can be used to test your RAM. You can also test your RAM sticks using open-source software like as MemTest86, MemTest86+, Memtester, or HCI Memtest.
How to Test Your RAM for Errors
You may also use HWMonitor to monitor RAM temperature and analyse its voltage via the BIOS. Knowing these values allows you to assess whether your RAM sticks are overheated or receiving insufficient power.
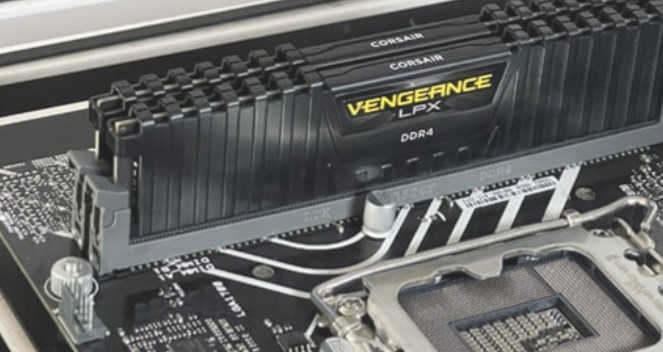
We used an 8GB V-Color DDR4 4100 (running at 3200 MT/s) and a 16GB TridentZ Royal DDR4 3600 (both running at 3200 MT/s) for the test.
However, before you begin the test, turn off any overclocking on your system. Incorrect overclocking settings may cause the test to produce error messages. This can be accomplished by resetting the BIOS.
Another thing to keep in mind is that testing many high-capacity memory modules will take substantially longer. Stopping the diagnostic process causes it to restart from the beginning.
So, I recommend removing all memory sticks saving one, and running the test. In this manner, you can continue to use the system between tests.
Windows Memory Diagnostic Tool
If you use Windows, you may test your RAM using the built-in utility. Memory Diagnostic Tool performs a series of tests and examines the memory addresses for errors that could cause system instability.
- Select the Windows + R key.
- In the Run window, type
mdschedand hit enter. This will open Windows Memory Diagnostic. - Select Restart now and check for problems (recommended).
- You can press F10 to view Windows Memory Diagnostic Tool-Options. Here, you can choose between Basic, Standard, and Extended tests.
- The PC will now restart and begin the memory test.
The system will run the diagnostic in Standard mode by default. The standard mode contains tests such as MATS+ INVC, SCHCKR, and others that are run with cache enabled.
When cache is enabled, the CPU does not access memory directly but instead uses cache to access data. This will produce erroneous results.
As a result, I propose running the Extended test, which disables the cache. Running a RAM test while removing the cache will take much longer but will provide more accurate results.
After the test is completed, you may view the results using another built-in program called Event Viewer.
MemTest86
MemTest86 is an open-source application that performs a series of tests, 13 in total, four times (passes) to detect problems in your memory module/s.
It does a total of 52 tests, so it will take substantially longer. If you are testing numerous memory sticks at the same time, I recommend running this test overnight.
A USB drive is required to run the test with MemTest86. As the process requires you to format the drive, ensure that it does not contain any files or directories.
You must now create a bootable USB disc. As a result,
Must Read This: – How to Reset Computer BIOS